
How to use Screening Mode
QuickSee Free and QuickSee Free Pro
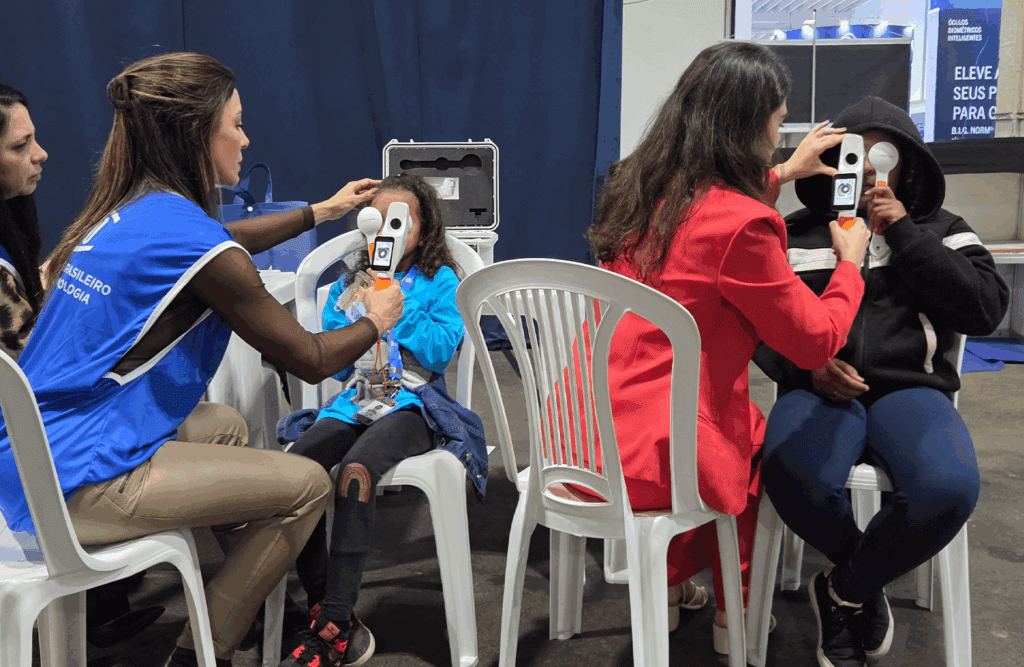
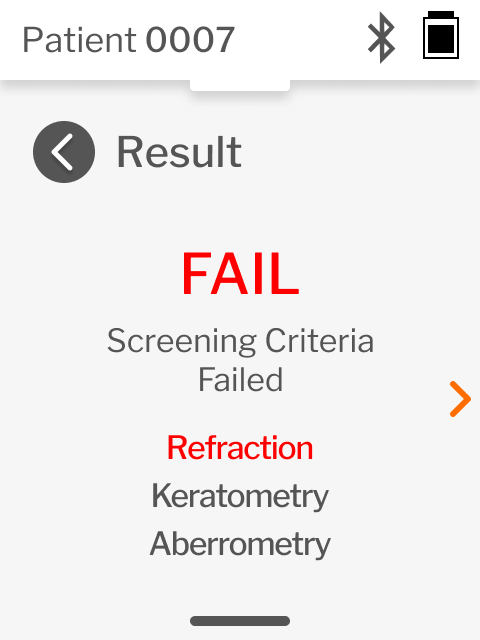
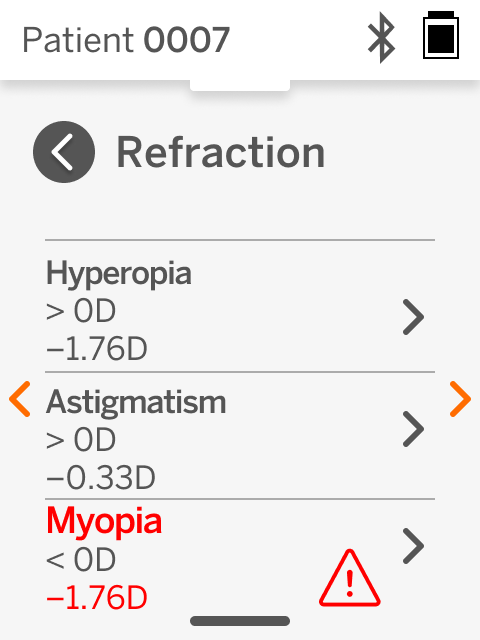
Screening Mode automatically compares each measurement against a clinical guideline and displays an instant result — Screening Criteria Passed or Screening Criteria Failed. It shows which parameters triggered the result, the measured values, and the thresholds applied.
Screening Mode includes three modules:
- Refraction: Available on QuickSee Free and QuickSee Free Pro
- Keratometry: Available on QuickSee Free Pro only
- Aberrometry: Available on QuickSee Free Pro only
Before you begin
Confirm the following before your first screening session:
- Device software version 8.0.0 or later (check in Settings > About)
- QuickSee Free Companion App version 4.0.0 or later installed
(required for full functionality) - Device connected to the Companion App at least once before first use
- A guideline selected and active in Settings
Setting up Screening Mode
- Open the pull-up menu from the Home Screen.
- Select Settings.
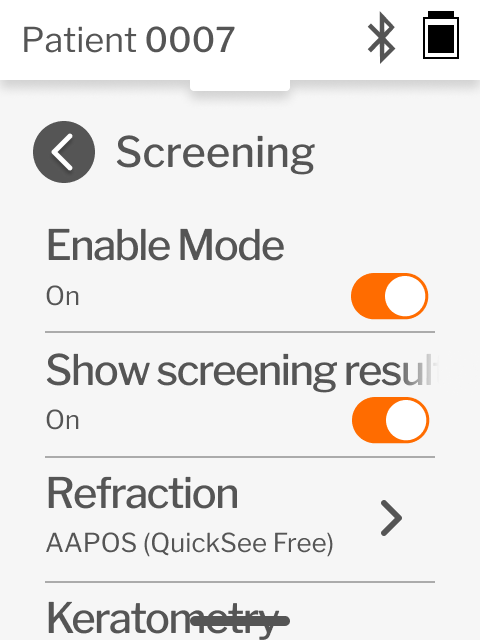
- Enable Screening Mode. (This is also where you can disable Screening Mode.)
- Enable on-screen results display
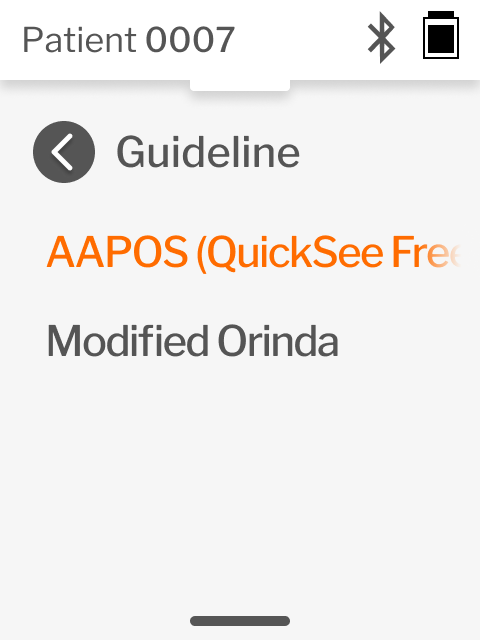
- Select a guideline for each module you wish to use. See below for details about the screening guidelines.
About the built-in guidelines
Two evidence-based guidelines are included, calibrated specifically for QuickSee Free’s wavefront technology:
- AAPOS 2021:Tuned for pediatric amblyopia risk factors. Choose this for school and children’s programs.
- Modified Orinda: Tuned for general and mixed-age populations. Choose this when screening adults or where over-referral is a concern.
Expert users can create custom guidelines in the Companion App. See your clinical administrator or contact PlenOptika for guidance.
Performing a screening
- From the Home Screen, select an eye to measure and begin measurement once it’s aligned.
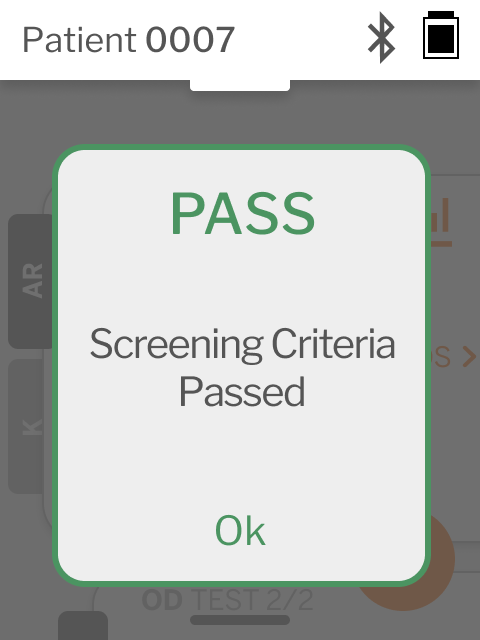
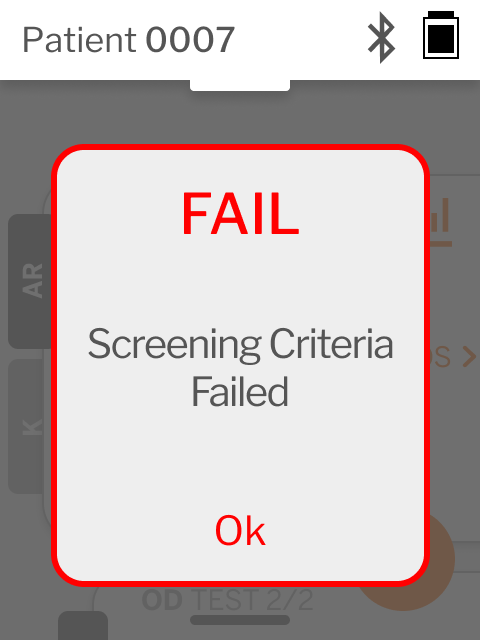
- When the measurement is complete, a pop-up will appear showing the screening result.
- The pop-up will display one of two outcomes:
Screening Criteria Passed — all measured values are within the selected guideline thresholds
Screening Criteria Failed — one or more values fall outside the guideline thresholds
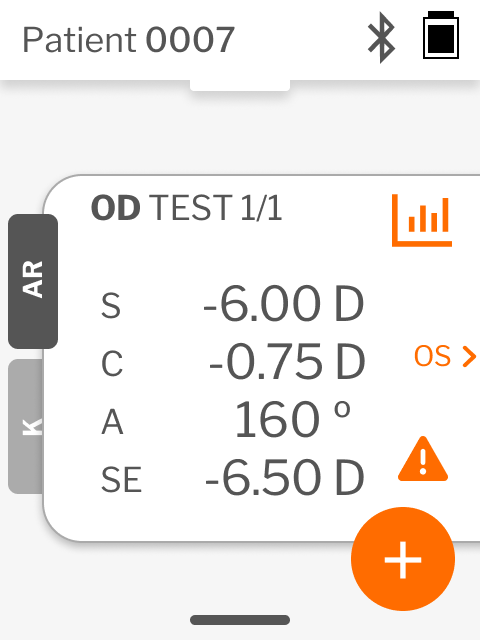
Tap “OK” to close the popup. - Tap the symbol to see where the screen failed. Modules with measurements that fail the screening results show in red; tapping on them shows in detail which thresholds failed.
Using the Companion App
The Companion App is the control center for Screening Mode. Connect your device to the app to access the full capabilities of the system.
Connecting the device
- Ensure Bluetooth is enabled on QuickSee Free.
- Open the Companion App on your tablet or computer.
- Select your device in the app. Guidelines will synchronize automatically.
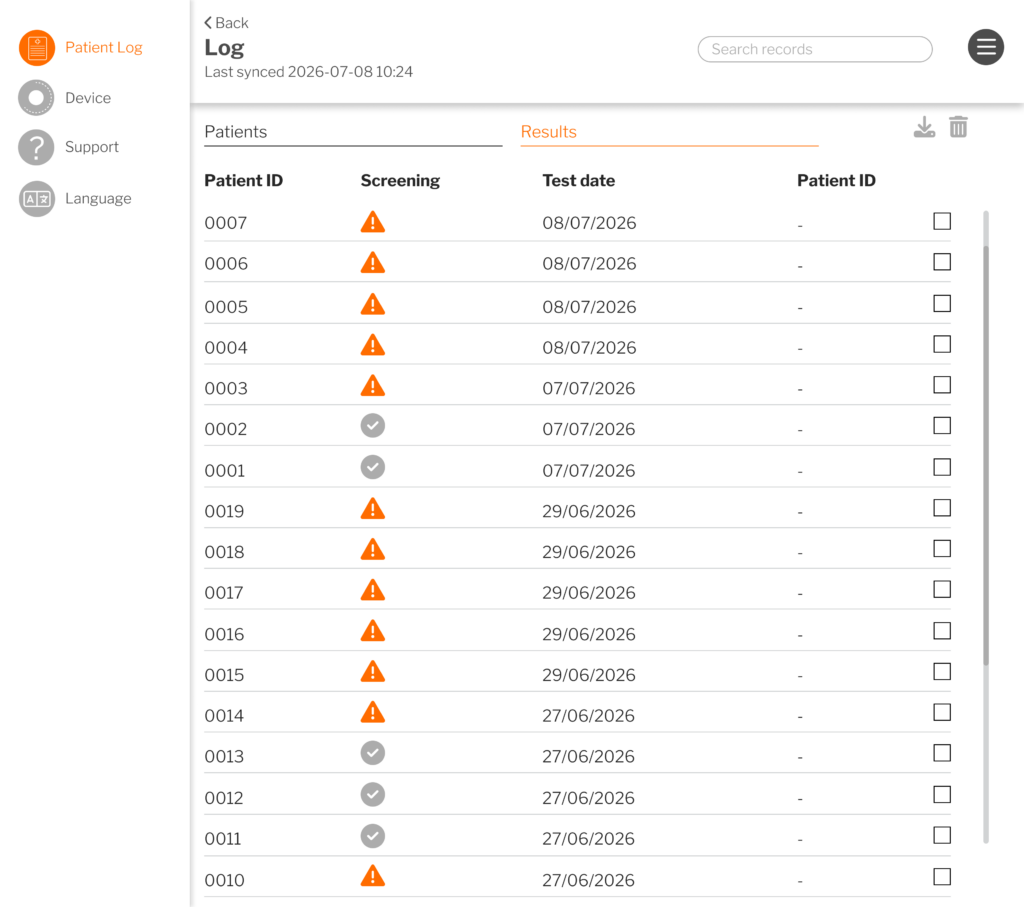
- The patient log shows all measurements with their screening outcomes.
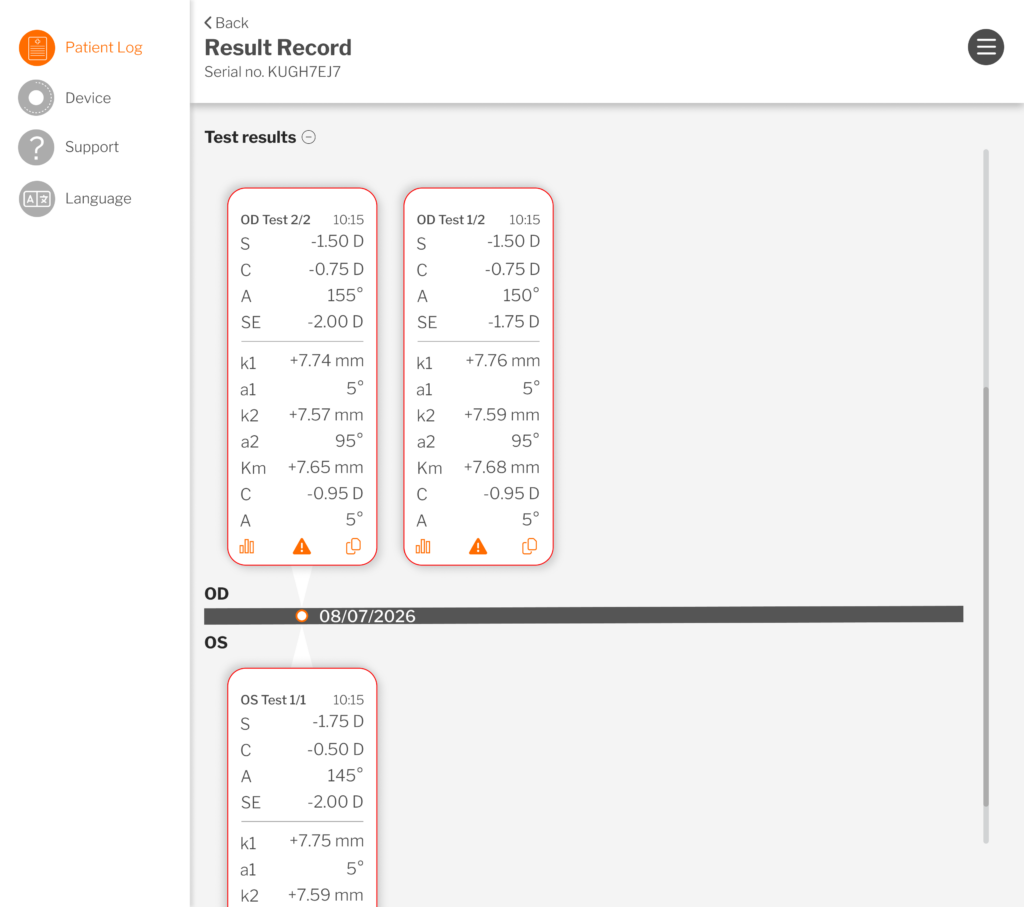
- Select any patient to view their full measurement detail and screening result.
- Apply any guideline to your entire measurement log instantly — no remeasurement needed.
Printing patient reports

- Select a patient from the log.
- Press Print Report to generate a clear, easy-to-read summary of their results.
- Reports include the screening outcome, measured values, and thresholds applied.
Getting help
- Contact your PlenOptika representative or email sales@plenoptika.com.
Screening Mode is a data comparison tool. It compares measurements against selected guideline thresholds and displays the result. It is not a diagnostic system and does not provide medical referrals. Clinical determinations remain with the eye care professional.